Work & Study · Free printable
Free Beginning, Middle, and End Graphic Organizer
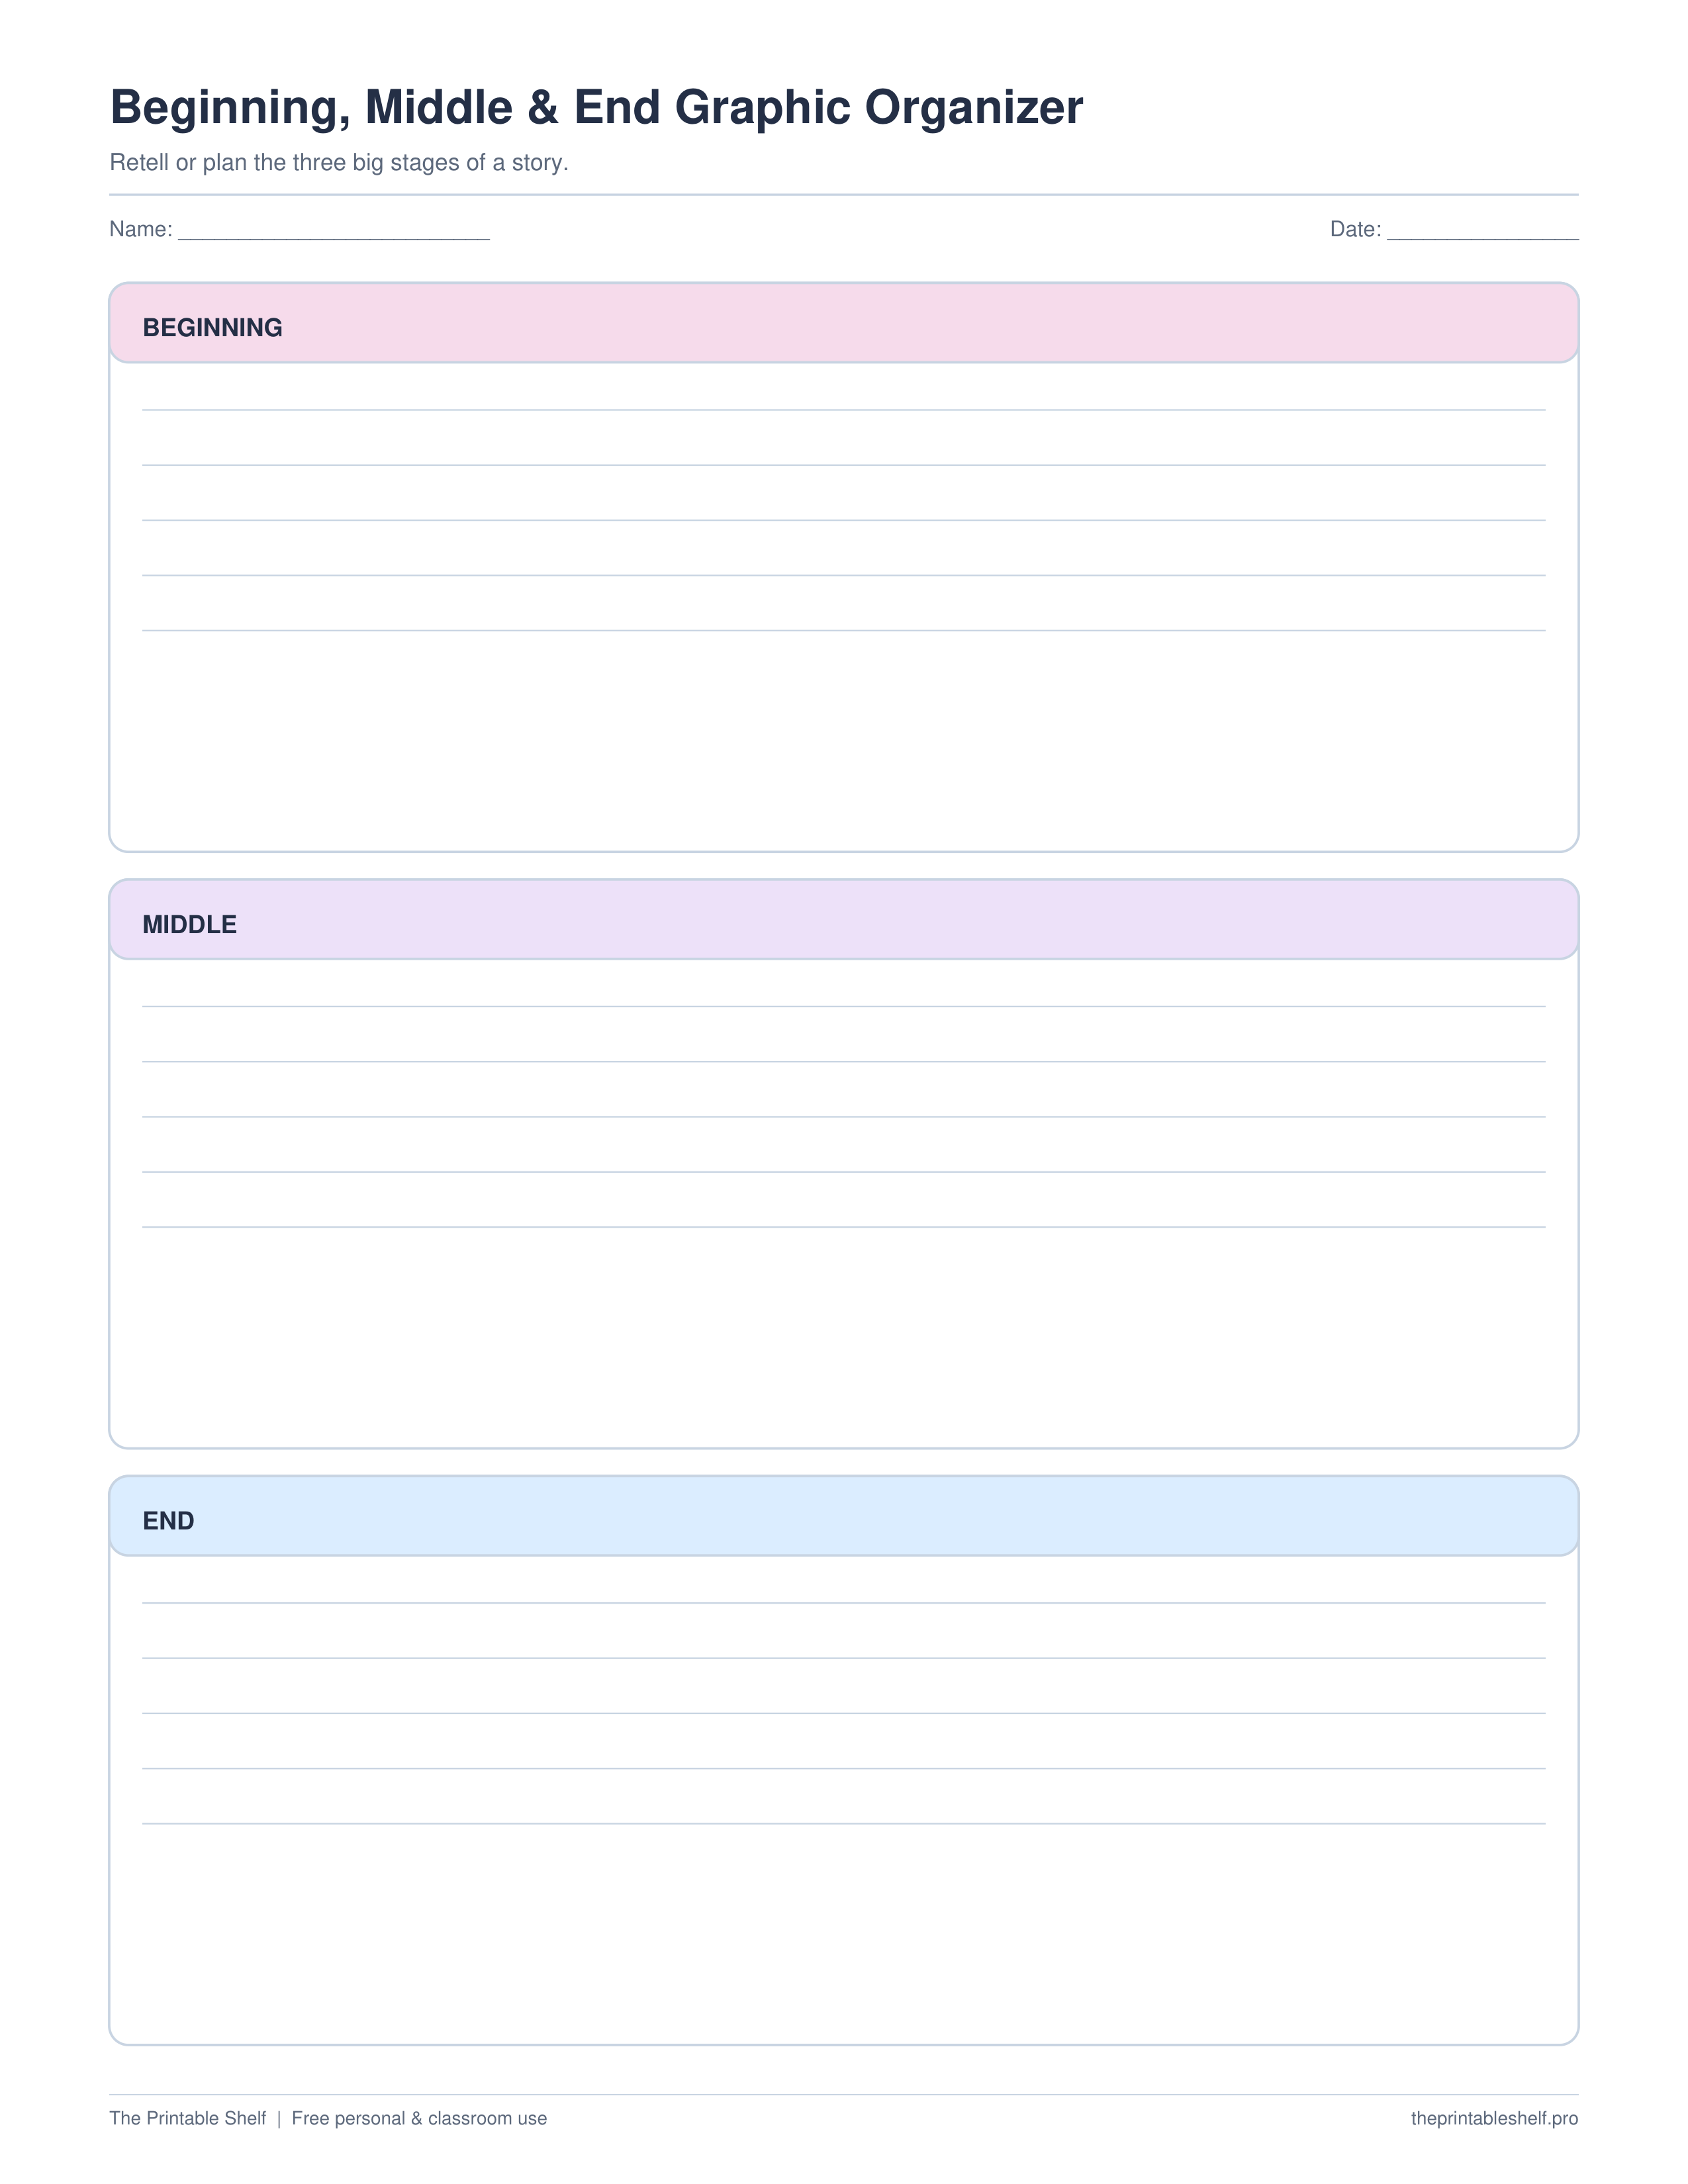
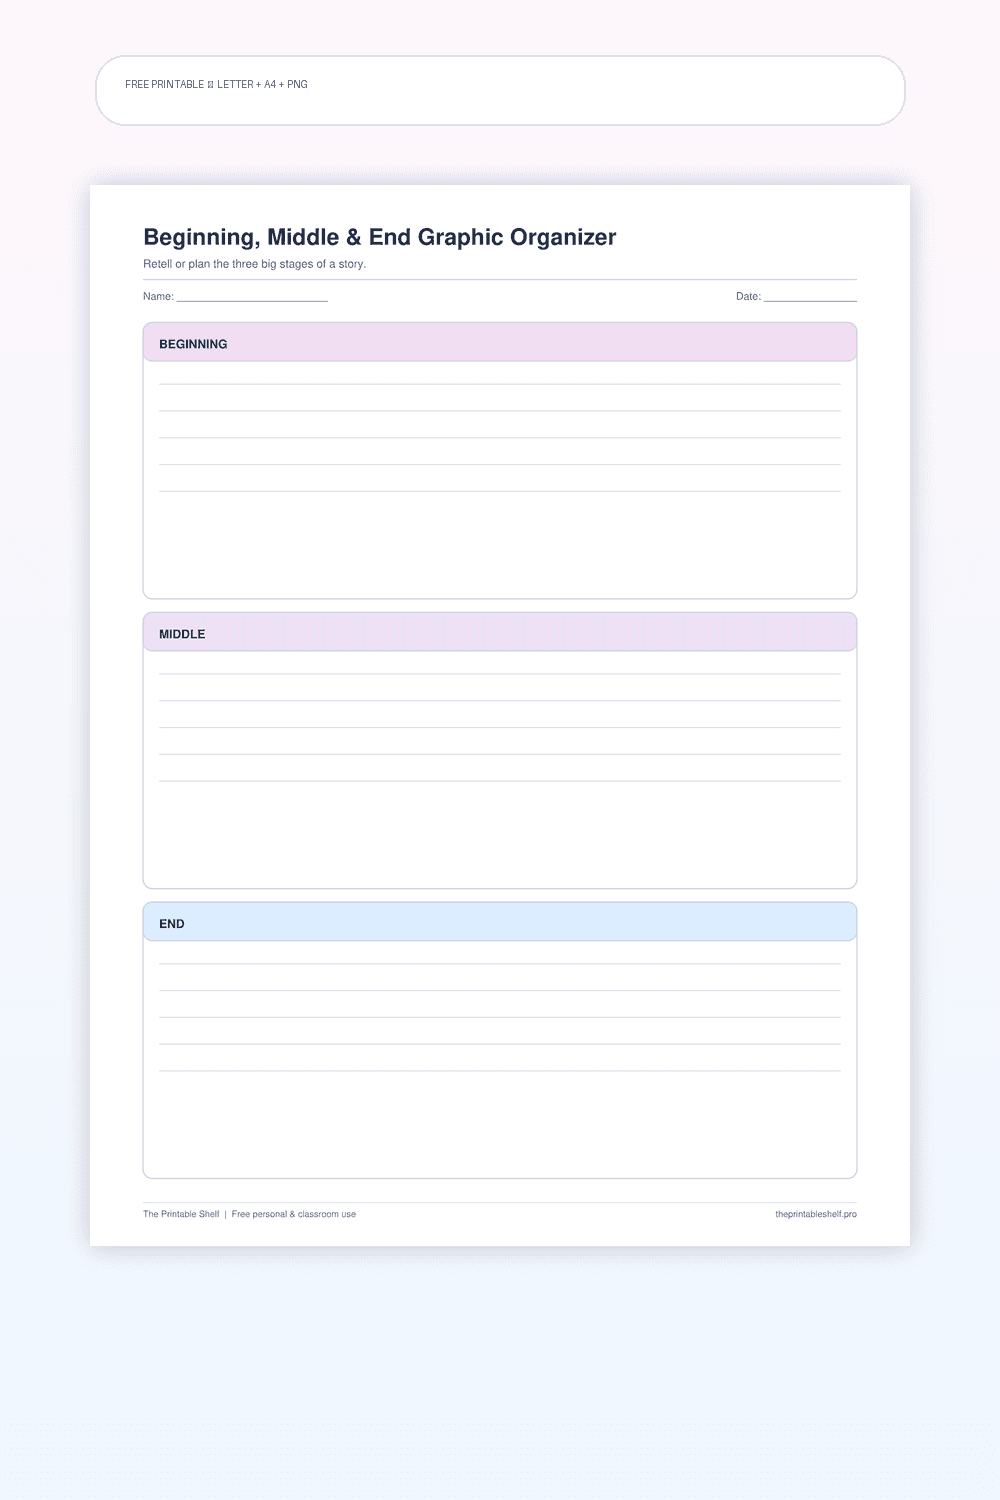
A beginning-middle-end organizer helps readers retell a story in three meaningful parts instead of listing every event. Record how the story begins, what important change or problem develops in the middle, and how the situation ends. It also works as a simple story-planning sheet for young writers before they draft.
Edited by Tessa Vaughn · Planning & Organization Editor
Free download
Choose your file size
Print at 100% / Actual Size for the cleanest margins. Pick the paper size your printer normally uses.
No sign-up required · personal/classroom use
More useful layouts
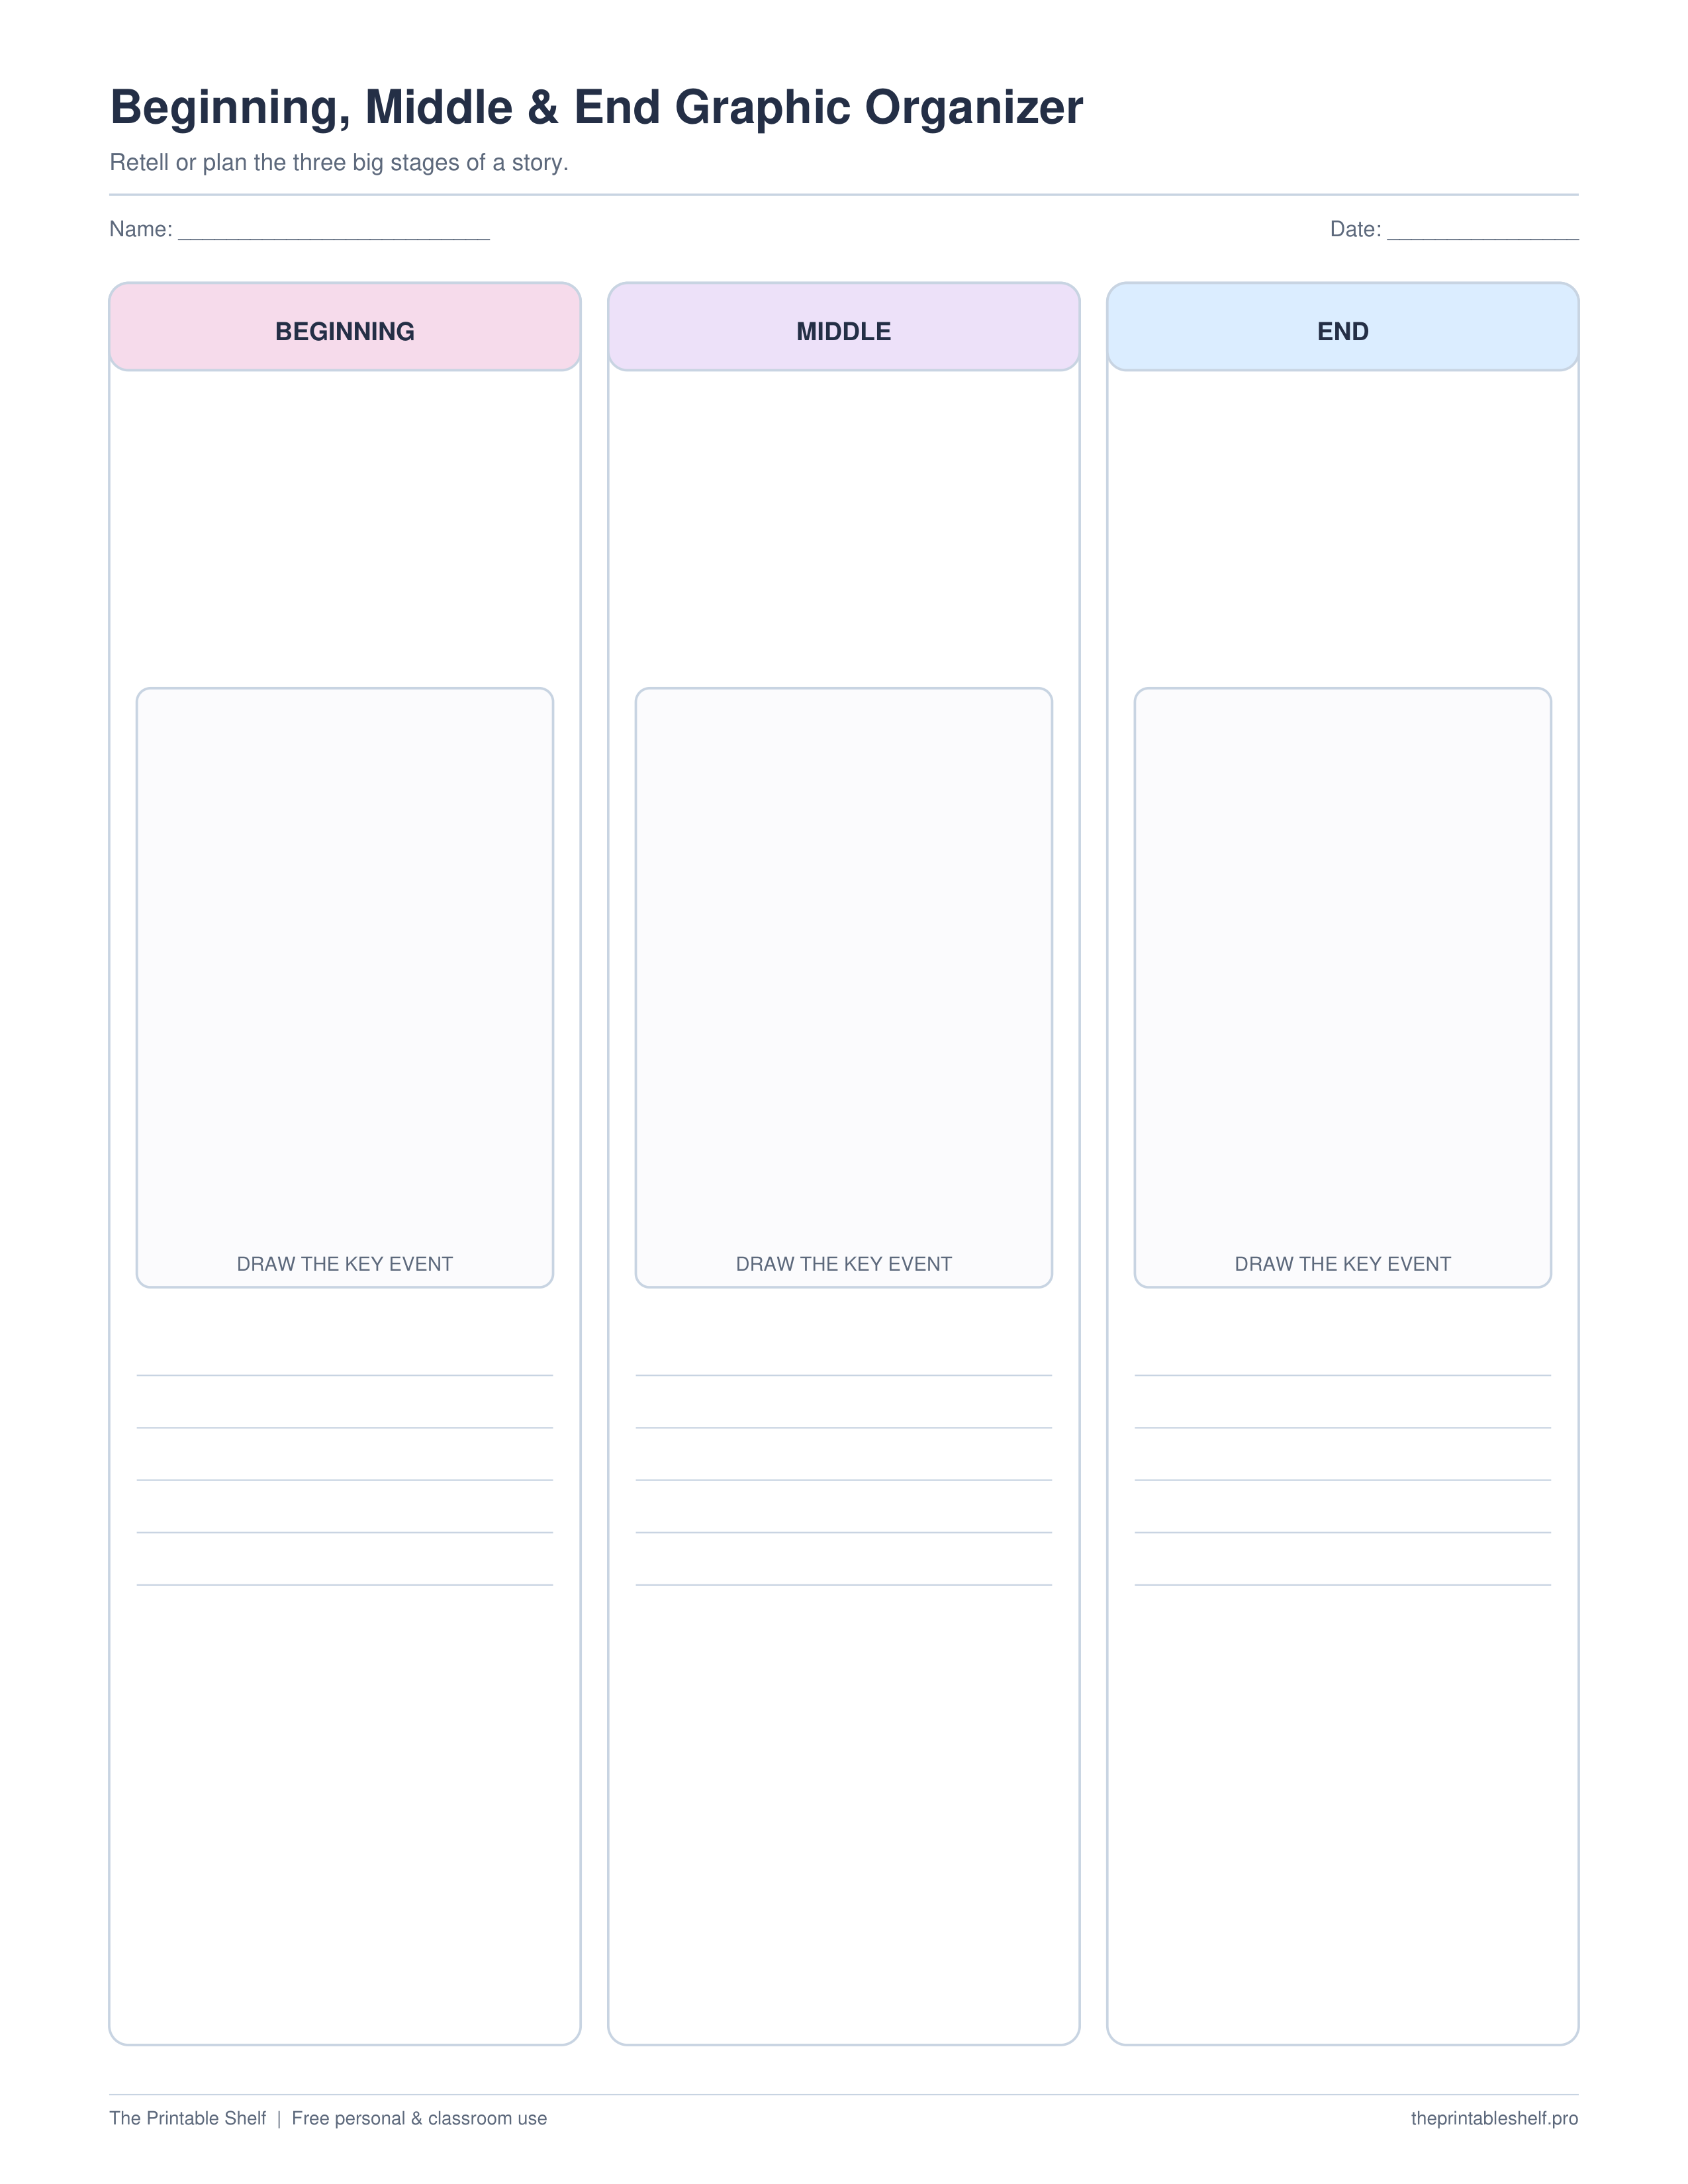
Draw + write
Each stage includes a large sketch area plus short writing lines for younger learners.
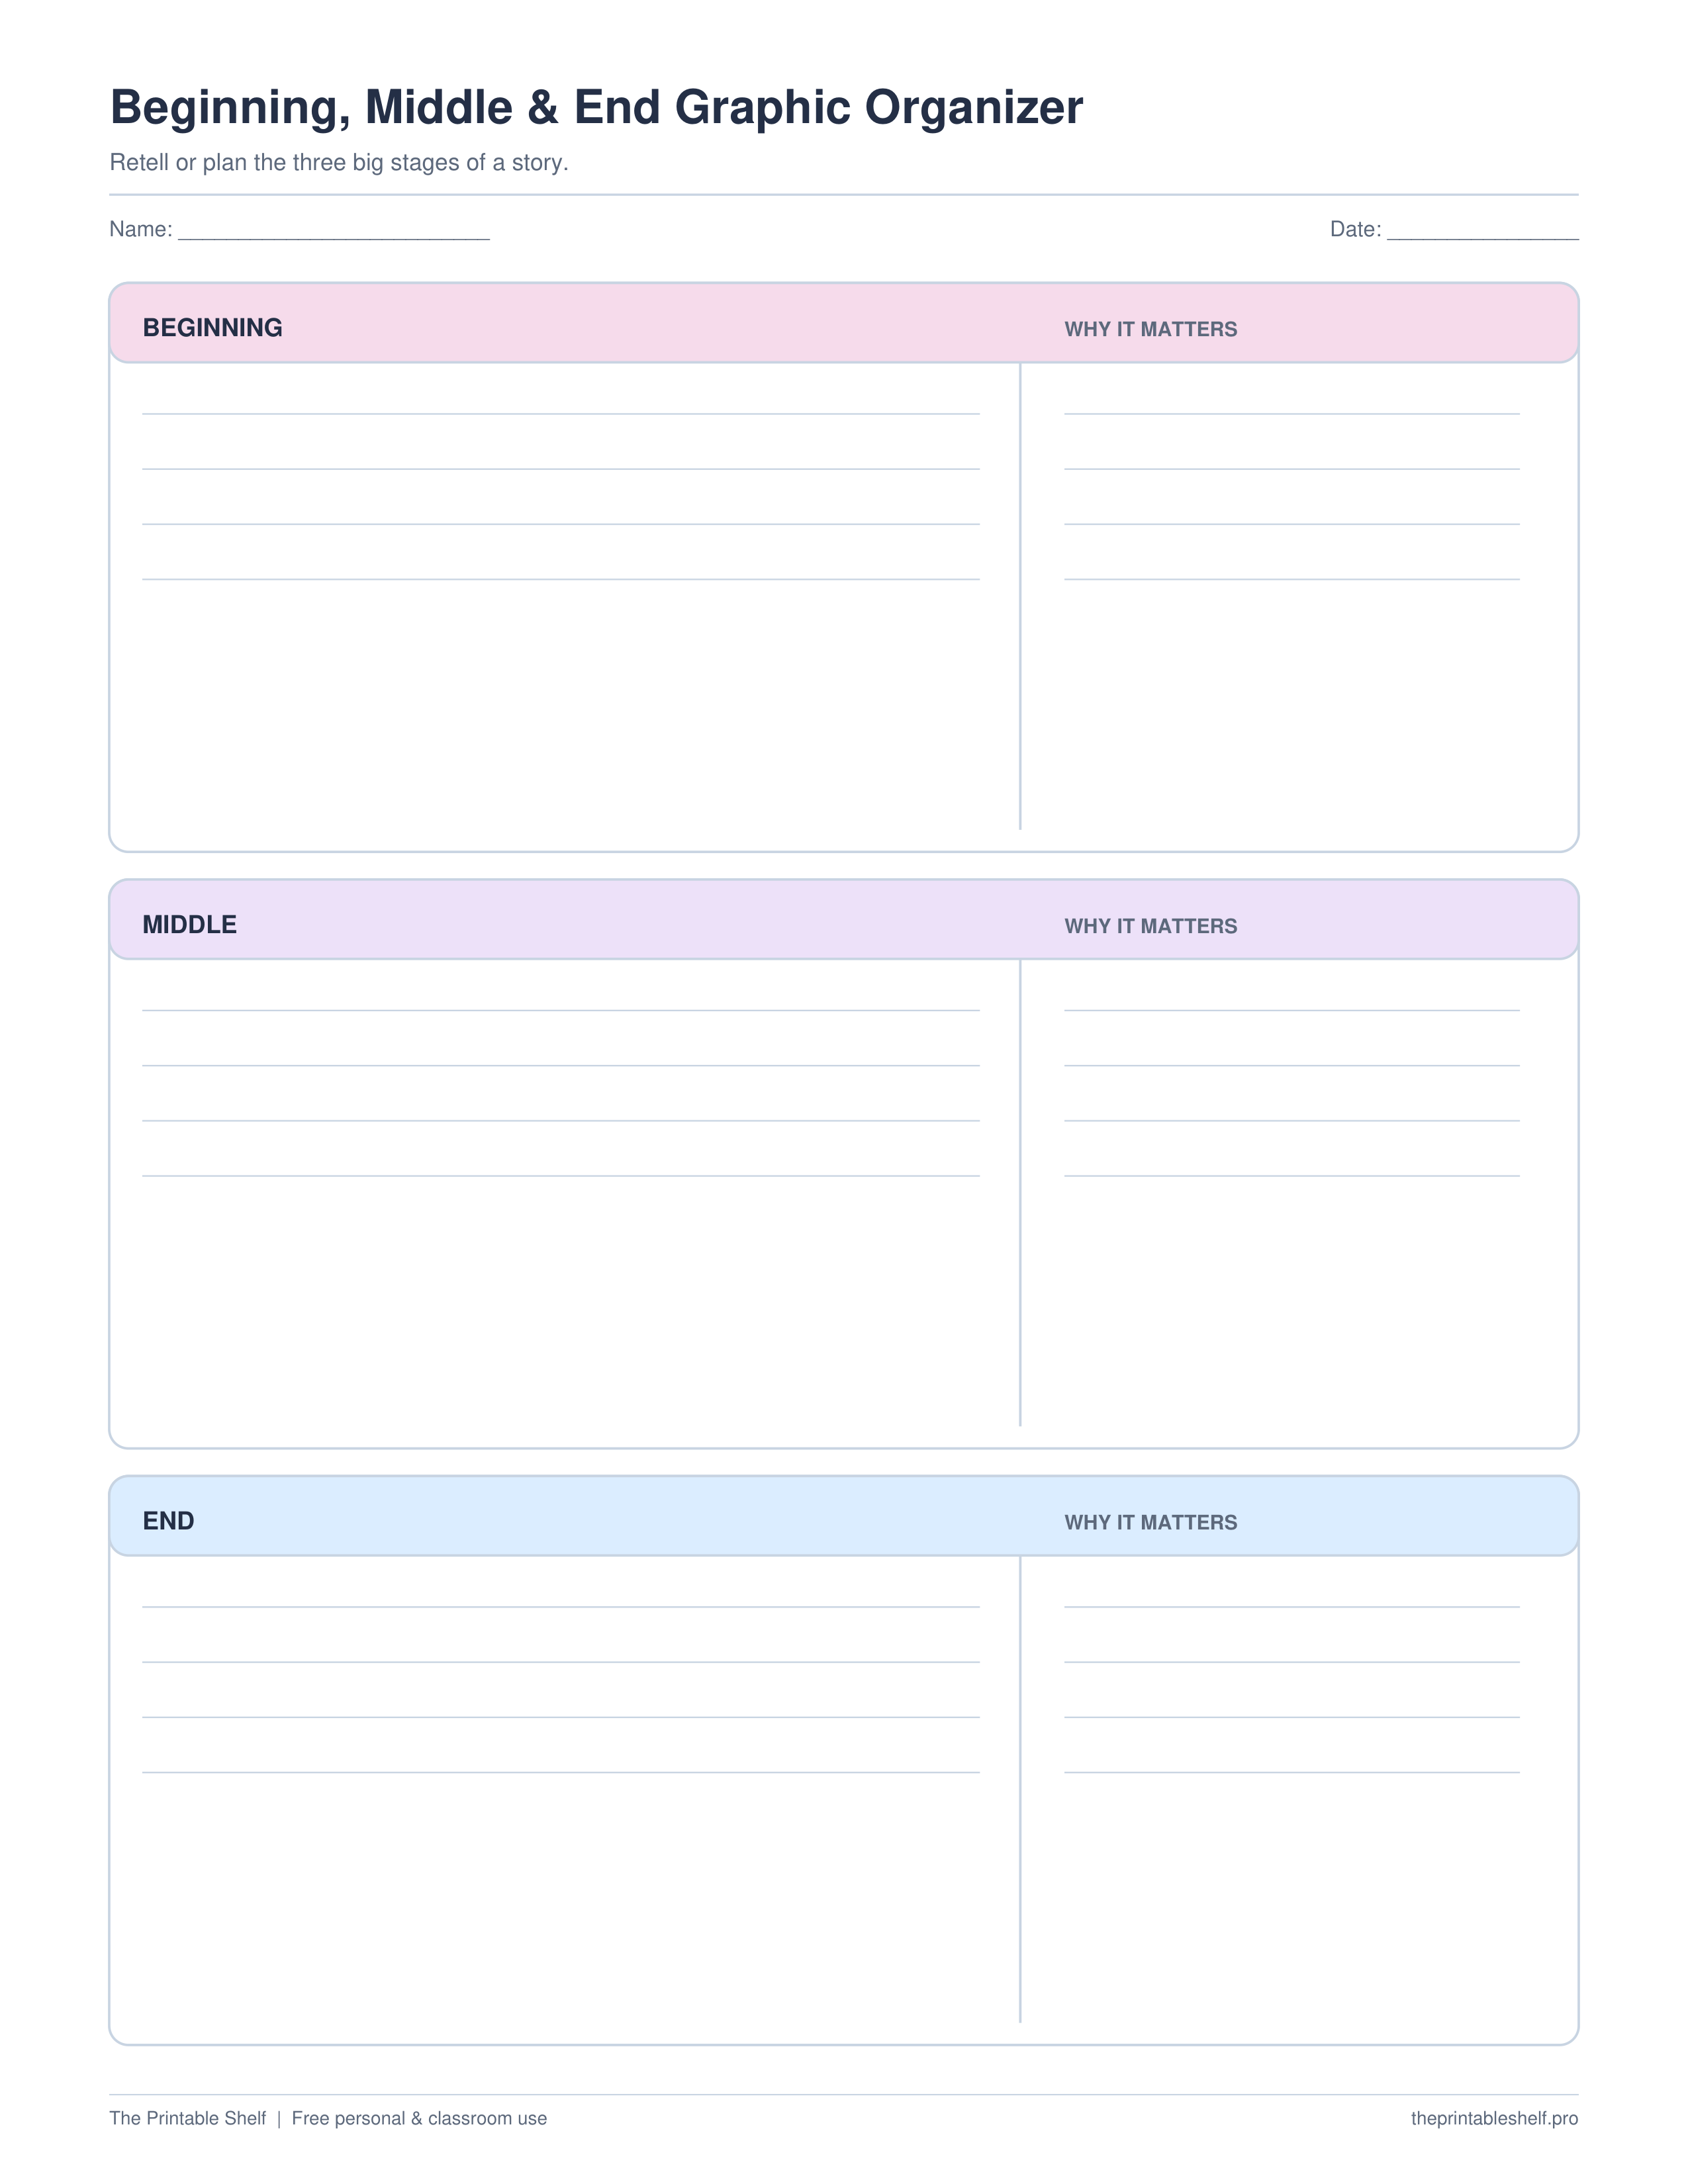
Event + why it matters
Pairs the key event in each story stage with a significance prompt.
What this printable is for
A three-part story structure page with enough room to write or sketch the most important events in each stage. It is deliberately simpler than a full story map or five-step sequence organizer, making it especially useful when the goal is basic retelling, summarizing, or planning a short narrative without overwhelming the learner with too many boxes.
How to use it
Read the whole story—or at least the complete section you are retelling—before filling all three boxes. Then start with the Beginning. Record the setup the reader needs in order to understand what comes next: the main character or subject, the setting when it matters, and the event that starts the action. Avoid copying the first sentence simply because it appears first; choose the information that actually establishes the story.
Use the Middle for the important development, problem, attempt, or change. The middle often contains much of the story’s development, so do not try to squeeze every event into the box. Ask, ‘What happened that made the situation different from the beginning?’ For a very short text, one event may be enough. For a longer story, combine related events into a concise statement that preserves the main progression without turning the box into a full retelling.
In the End box, explain how the situation finishes. Include the resolution or final outcome when there is one, and note an important change in the character or situation if it helps make the ending meaningful. Do not write only ‘The End’ or copy the last line. A useful ending entry should answer what became of the main problem, goal, or event you recorded earlier.
When all three sections are complete, read them in order without looking at the original text. The three boxes should form a coherent mini-retelling. If the middle does not connect the beginning to the end, add the missing turning point. If one box is much longer than the others, decide whether you included unnecessary details. This quick check turns the organizer into a summary tool rather than a place to copy three random moments.
For prewriting, use the same structure in reverse. Plan who and where in the Beginning, put the main challenge or important event in the Middle, and decide how it resolves in the End. Young writers can sketch first and add a brief caption or explanation underneath each picture. More experienced writers can use the three boxes as a high-level plan, then move to a story map when they need characters, conflict, events, and resolution in more detail.
Choose this sheet when three broad story parts are enough. If the task requires several discrete events or steps to be tracked in exact order, use the sequence-of-events organizer instead. If the lesson asks for setting, characters, problem, and solution as separate elements, use the story map. Matching the organizer to the task keeps the worksheet from adding complexity that the learner does not need.
Customize instead
Need a different title, paper size, or orientation? →
Use the free Graphic Organizer Maker to build a custom Venn, KWL, Frayer, story map, T-chart, main-idea, sequence, or cause-and-effect page.
Best uses for this template
Ways to use it
After a read-aloud
Have learners sketch one key event in each section, then orally retell the story from their three pictures before writing captions.
Independent reading
Use a concise note for each section to summarize the setup, major development, and resolution without copying every event.
Story planning
Plan the setup, central challenge, and ending before drafting so a short narrative has a clear direction from the start.
Common mistakes to avoid
Copying the first, middle, and last sentence
Choose the events that define each part of the story, not sentences based only on their position on the page.
Putting every event in the middle
Combine small events and keep only the developments needed to connect the setup to the ending.
Writing an ending unrelated to the beginning
Check that the final box shows what happened to the original problem, goal, or situation.
Included layout options
Write-only
Retell a story in three large stages
Layout: Three full-width lined sections
Draw + write
Support younger readers and visual retelling
Layout: Each stage has a sketch box plus short writing lines
Event + why it matters
Move from retelling toward analysis
Layout: Adds one significance prompt under each stage
Classroom fit
Suggested grades, use modes & standards
Suggested grade bands
These are practical use ranges, not hard limits. Text complexity and the amount of teacher modeling matter more than the worksheet alone.
Good fit for
Scaffold level: Beginner.
Common Core crosswalk
No narrow standards code is listed for this general-purpose template. Use it where the thinking task fits your local curriculum.
Frequently asked questions
What should go in the beginning of a story retell?
Include the setup the reader needs—usually the main character or subject, relevant setting, and the event that starts the story or problem.
How is this different from a sequence of events organizer?
Beginning-middle-end groups a story into three broad parts. A sequence organizer is better when the exact order of several separate events or steps matters.
Can students draw instead of write?
Yes. Younger learners can draw the key event in each section and add a short caption or sentence underneath.
Helpful guides
See where this organizer fits, when a different layout works better, and how to turn the completed page into a useful next step.
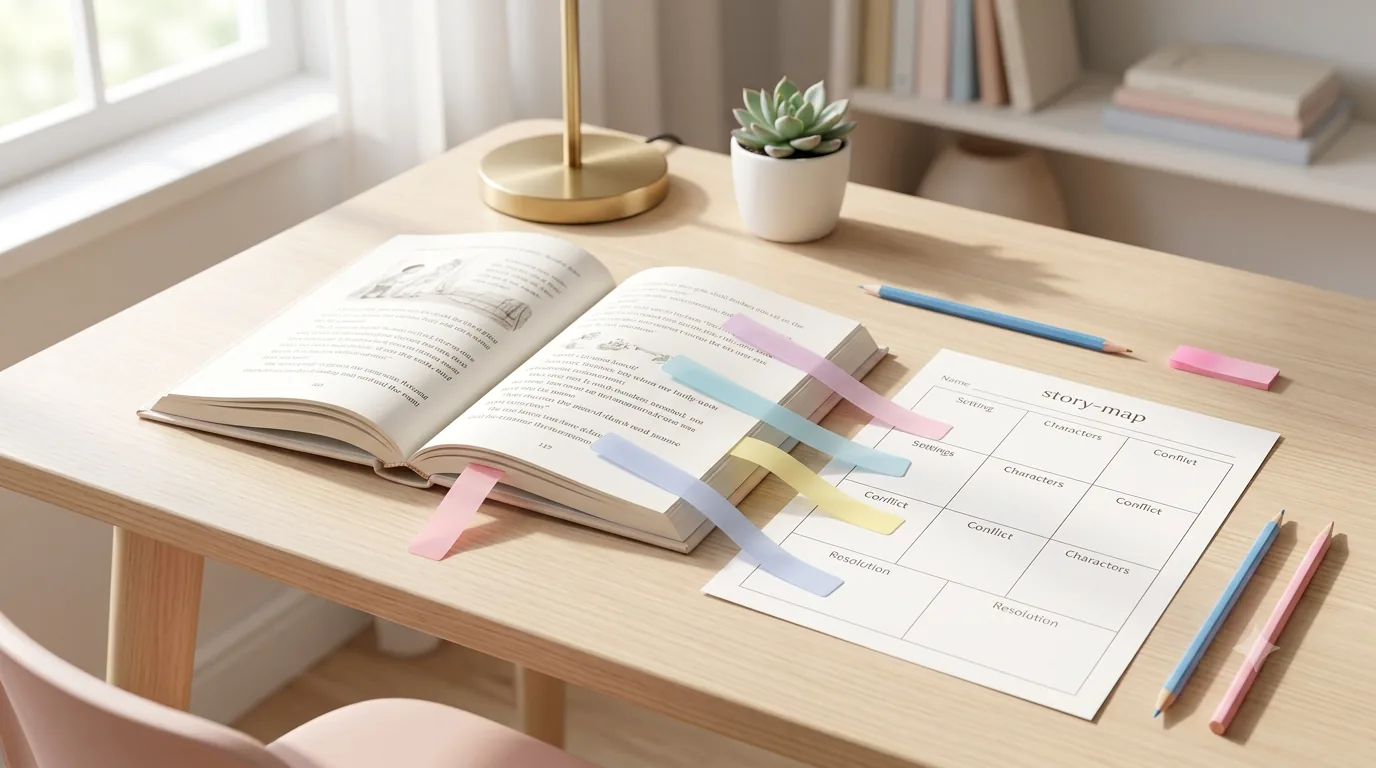
Free Reading Comprehension Graphic Organizers by Reading Skill
Free reading comprehension graphic organizers for story elements, main idea, sequence, cause and effect, comparison, vocabulary, and prior knowledge.
Read guide →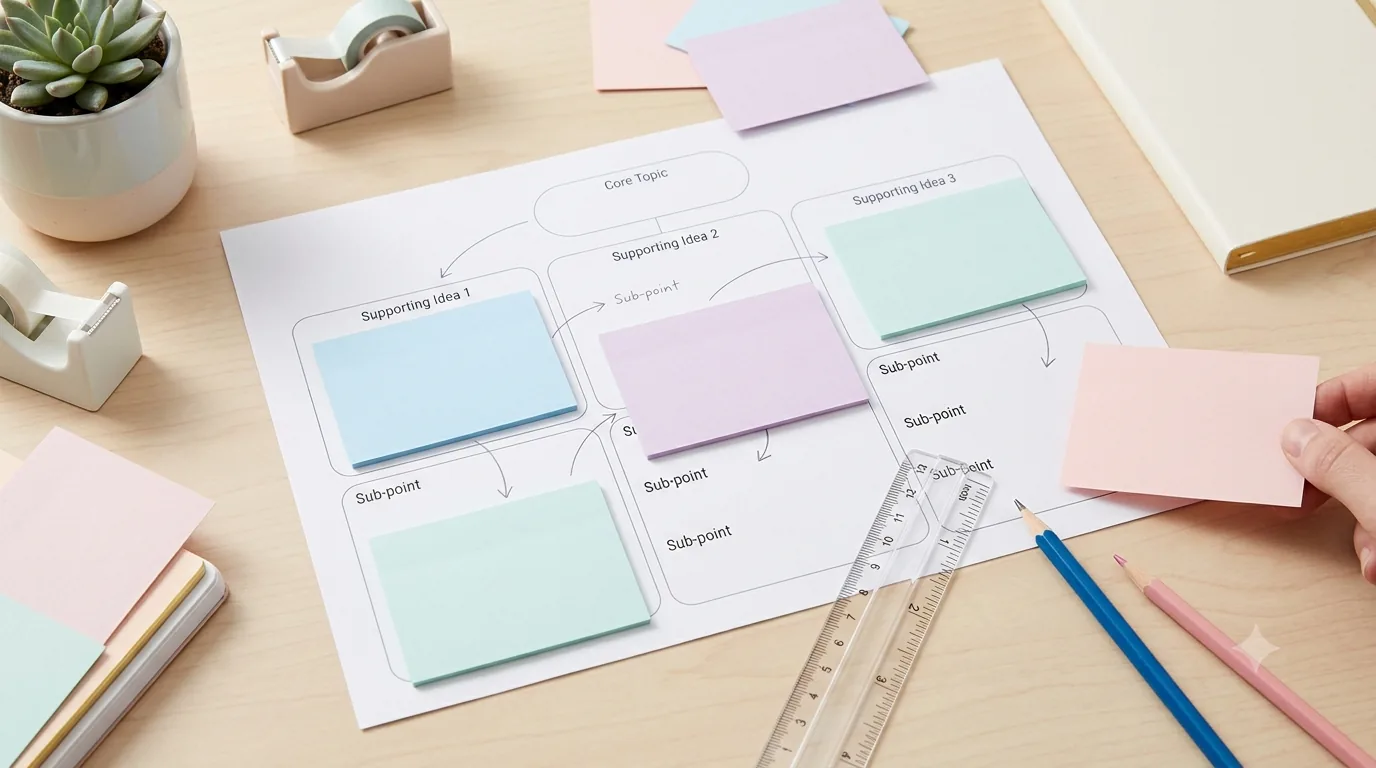
How to Use Graphic Organizers Effectively (Without Turning Them Into Busywork)
Learn how to choose, model, scaffold, and reuse graphic organizers so students think with them instead of simply filling in boxes.
Read guide →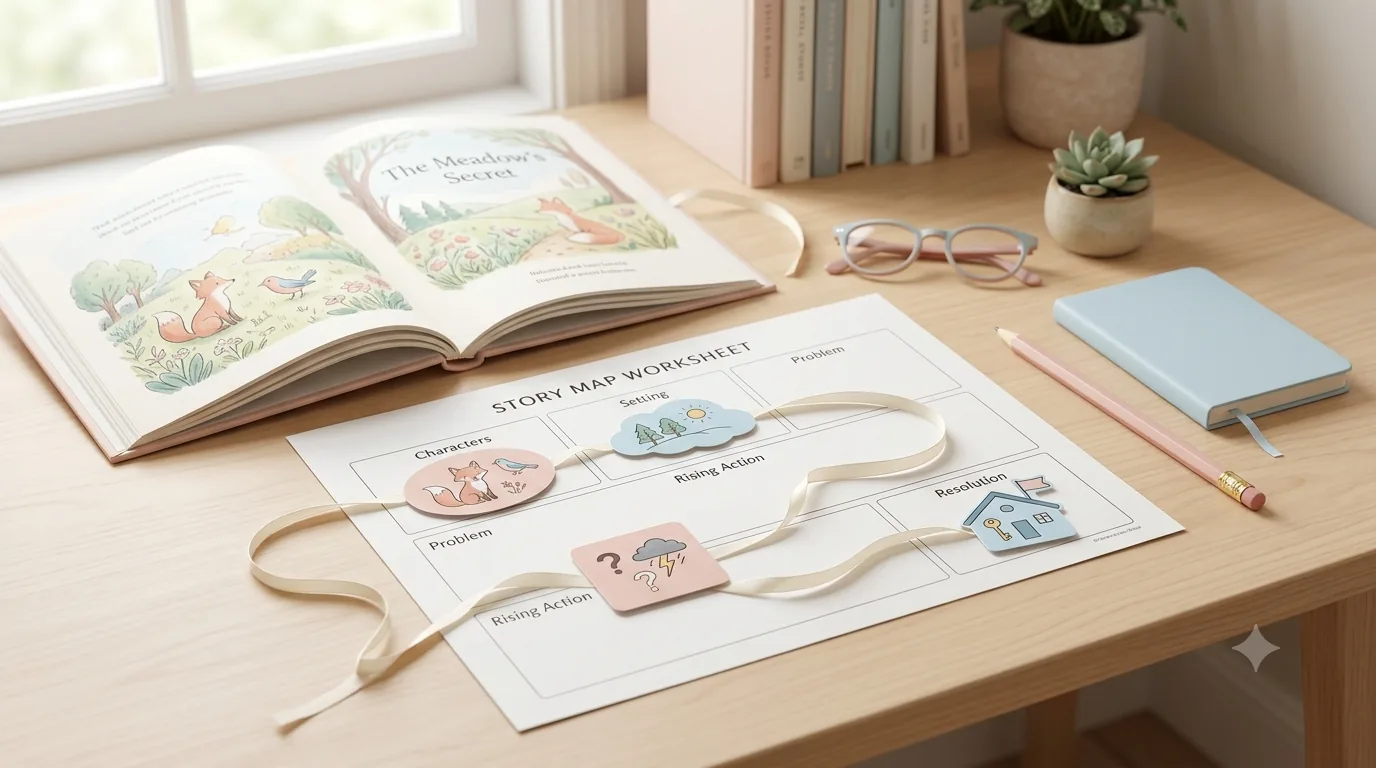
How to Use a Story Map for Better Reading Comprehension
Learn how to use a story map for characters, setting, problem, key events, and resolution, with a worked example and common fixes.
Read guide →Keep organizing
You might also like
Free printable
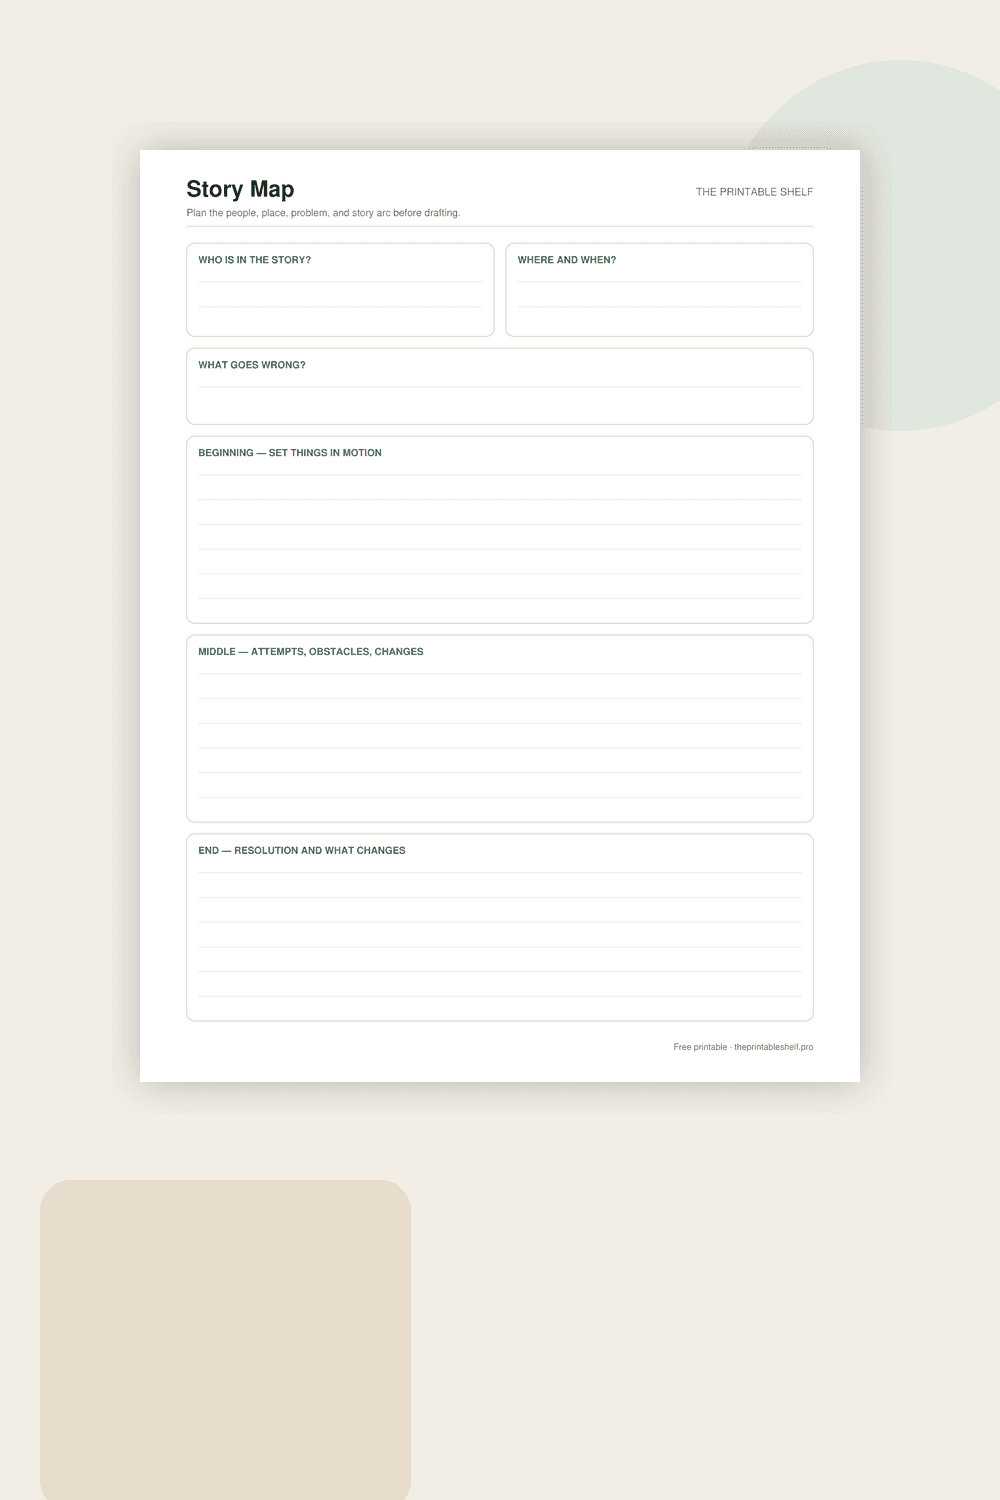
Printable Story Map Template
A one-page story organizer that separates the pieces students often mix together. Characters and setting establish who and where, the problem gives the story something to resolve, and three larger boxes organize the sequence into beginning, middle, and end. It works for reading response or prewriting.
Free printable
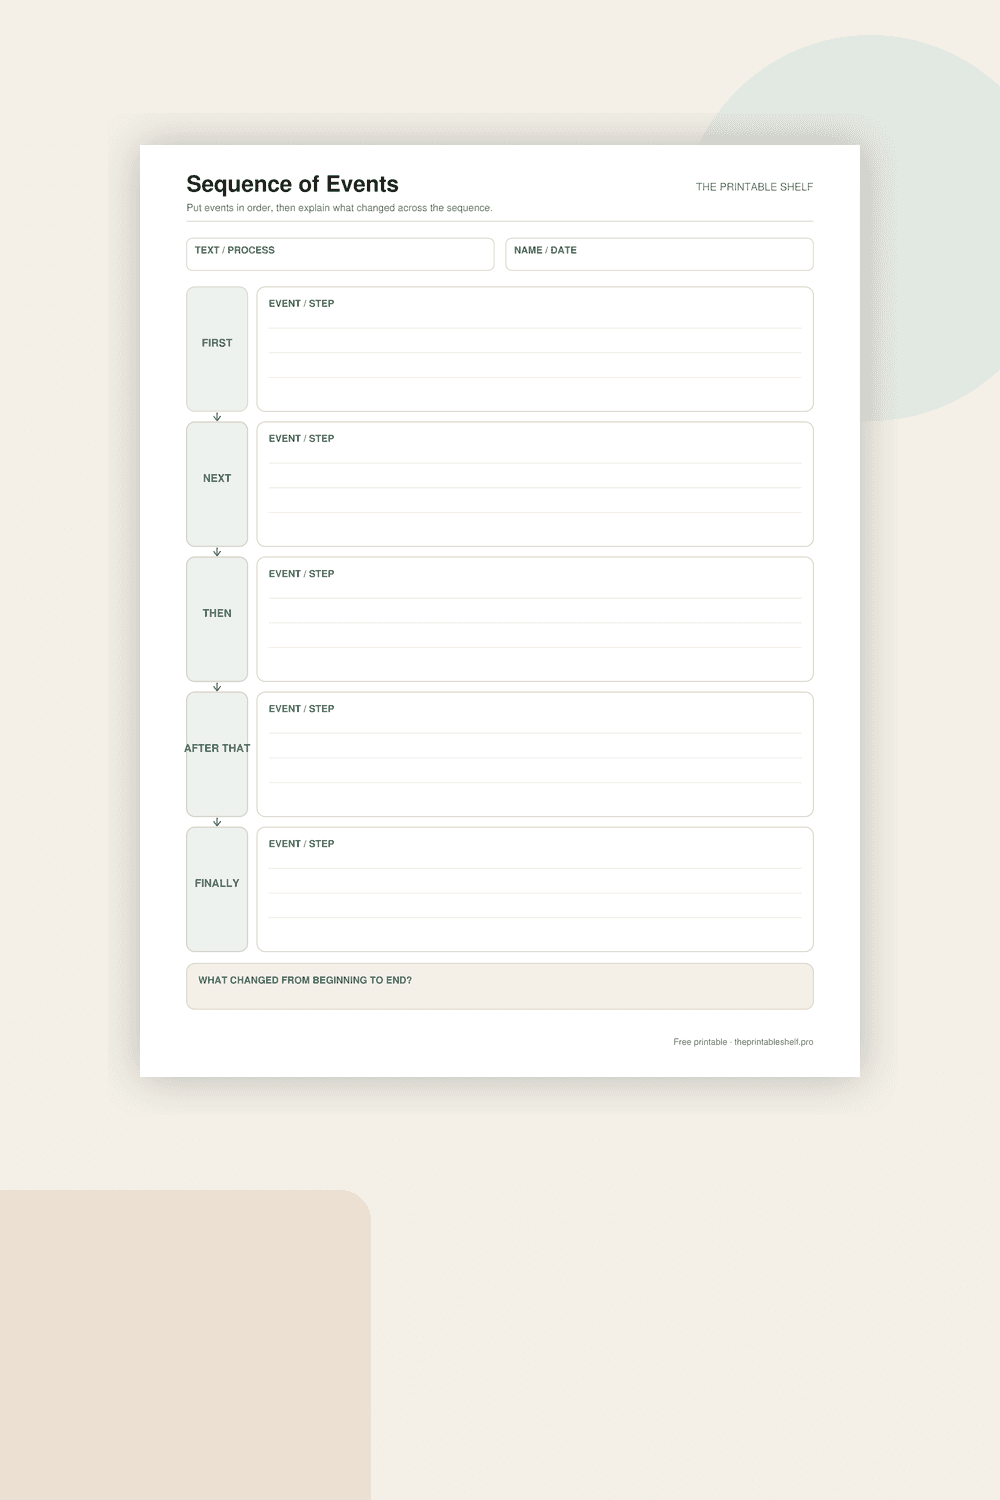
Sequence of Events Graphic Organizer
A vertical sequence chain that makes order visible without squeezing each event into tiny boxes. Five linked writing areas support short event summaries or process steps, and a final reflection box pushes the learner to notice the overall change from beginning to end rather than merely copying chronology.
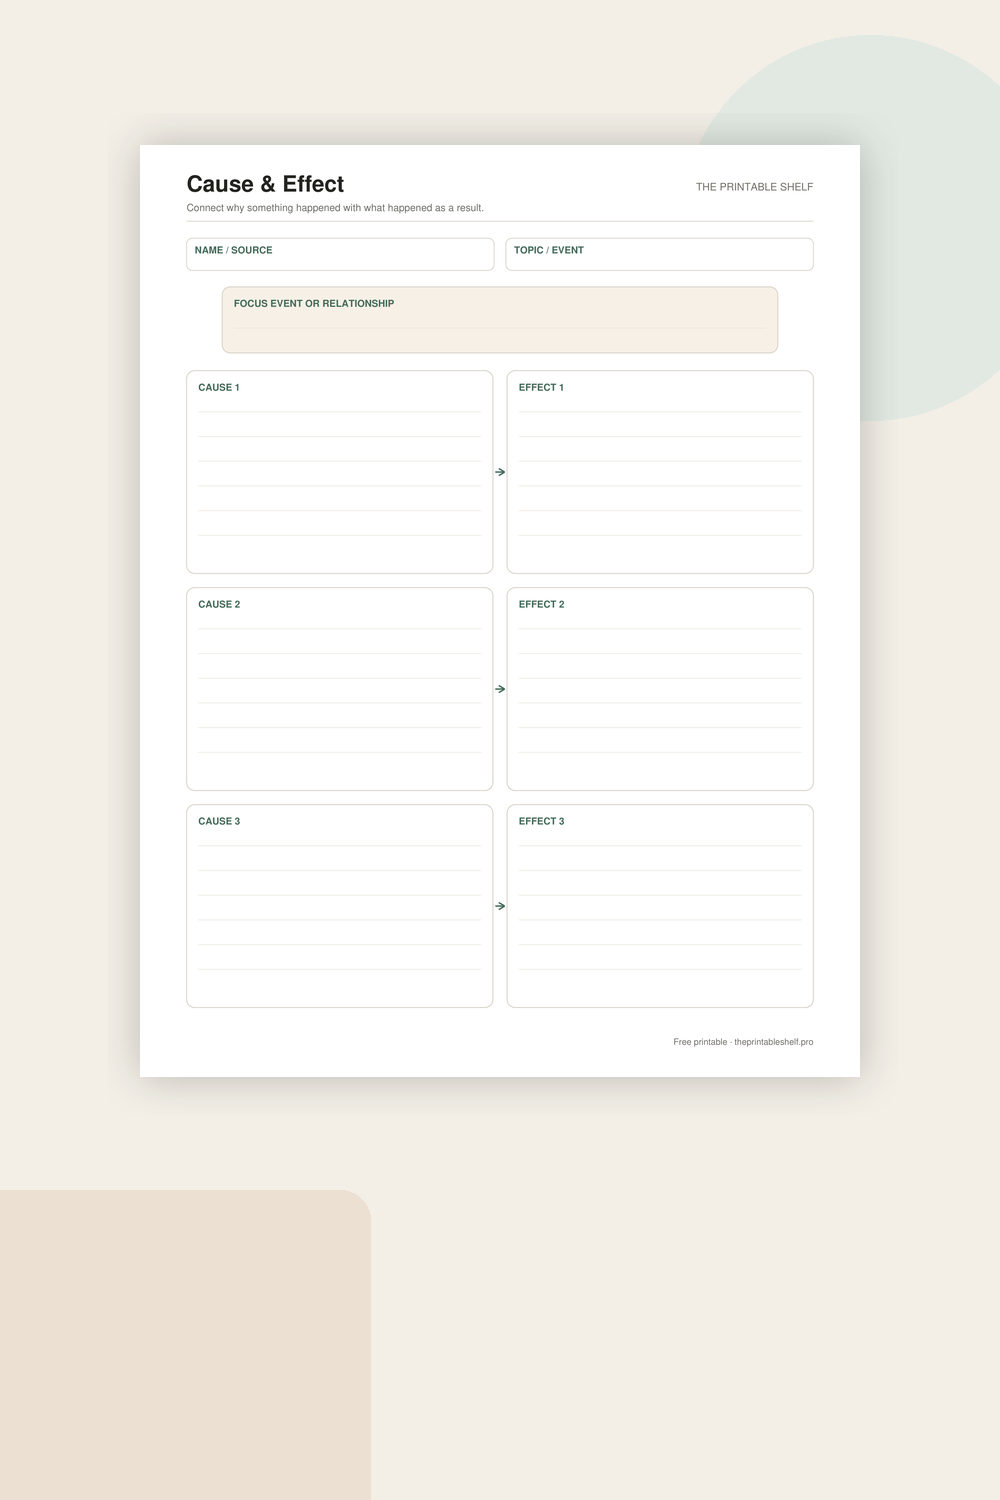
Free printable
Cause and Effect Graphic Organizer
A one-page organizer for examining causal relationships instead of simply listing events. Each cause is visually connected to its effect, and the focus box at the top gives the page one clear subject so students can analyze several relationships without losing track of the larger event, text, or concept.